Servotor32
The Servotor32 board uses the same processor as the Arduino Leonardo board. Therefore when dealing with the Servotor32 board you should choose the same settings as you would for the Arduino Leonardo.
Get the latest firmware from the ArcBotics site or Github and upload it to the Servotor32 using the Arduino Software.
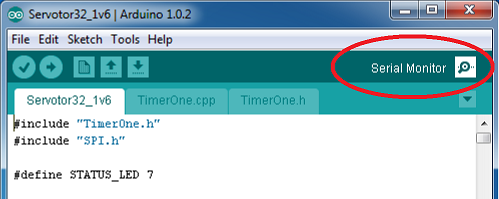
NOTE: Be sure to tell the Arduino software to recognise the board as an Arduino Leonardo via the Tools > Board menu, and select the proper com port under Tools > Serial Port
You can install the drivers for the Servotor32 as you would an Arduino Leonardo.
PoMoCo is the GUI interface that automatically generates commands for the controller. Communication with the latest firmware is done at 9600 baud though both the hardware serial port and the USB emulated serial port (Specifically 9600-8-N-1). The Servotor 2.0 firmware currently uses this command set:
- Display the firmware version number with 'V'
- Center all servos with 'C'
- Kill all servos with 'K'
- Kill a single servo with '#[servo number]L'
- Move a single servo with '#[servo Number]P[Servo Position in Microseconds]'
- Print icky debug details with 'D'
A position in microseconds is based on the following:
 500 - 90 Left
1500 - 0 degrees, center
2500 - 90 Right
For more specifics on how servos work, and why this is, try this tutorial on servos
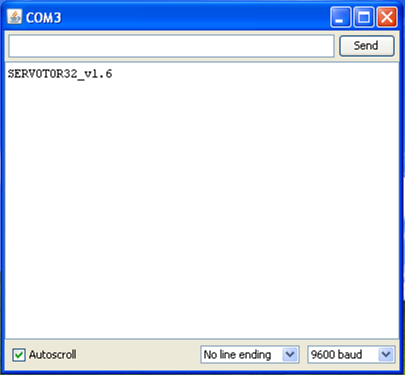
From the Arduino Serial Monitor, you can send commands:
From the Serial Monitor, you can type commands here: