This is a simple Discord.js webhook spammer. It can be used to spam any channel with any message. This can also be used to spam a channel with multiple webhooks. The webhooks can be customized to your liking. The code can run different webhooks from different server. You can also add more webhooks to the code. You need to have node.js and discord.js installed to run the code which you can find below.
**This code is for educational purposes only. I am not responsible for any damage caused by this code.**
- Installation
- Running the code
- Creating webhooks and getting the URL
- Customization
- Message Logs
- Errors and Warnings
- Footnotes
- Info
Before running the code in this repository, you need to have the following dependencies installed1:
To install node.js, go to https://nodejs.org/en/download/ and download the latest version.
To install discord.js, run the following command in your terminal in the directory of the repository:
$ npm installRunning the code is very simple. You can either click the run.bat file or run the follwing code in the terminal:
$ node --experimental-modules index.jsIf you are using the terminal, there will be a messages in the terminal saying that the code is running.
There is no need to install any other dependencies. The code is ready to run. You can also use a code editor to run the code. I personally use Visual Studio Code. You can find the link to download it here.
You can create webhooks4 directly through the Discord client. Go to Server Settings, and you will see an Integrations tab.
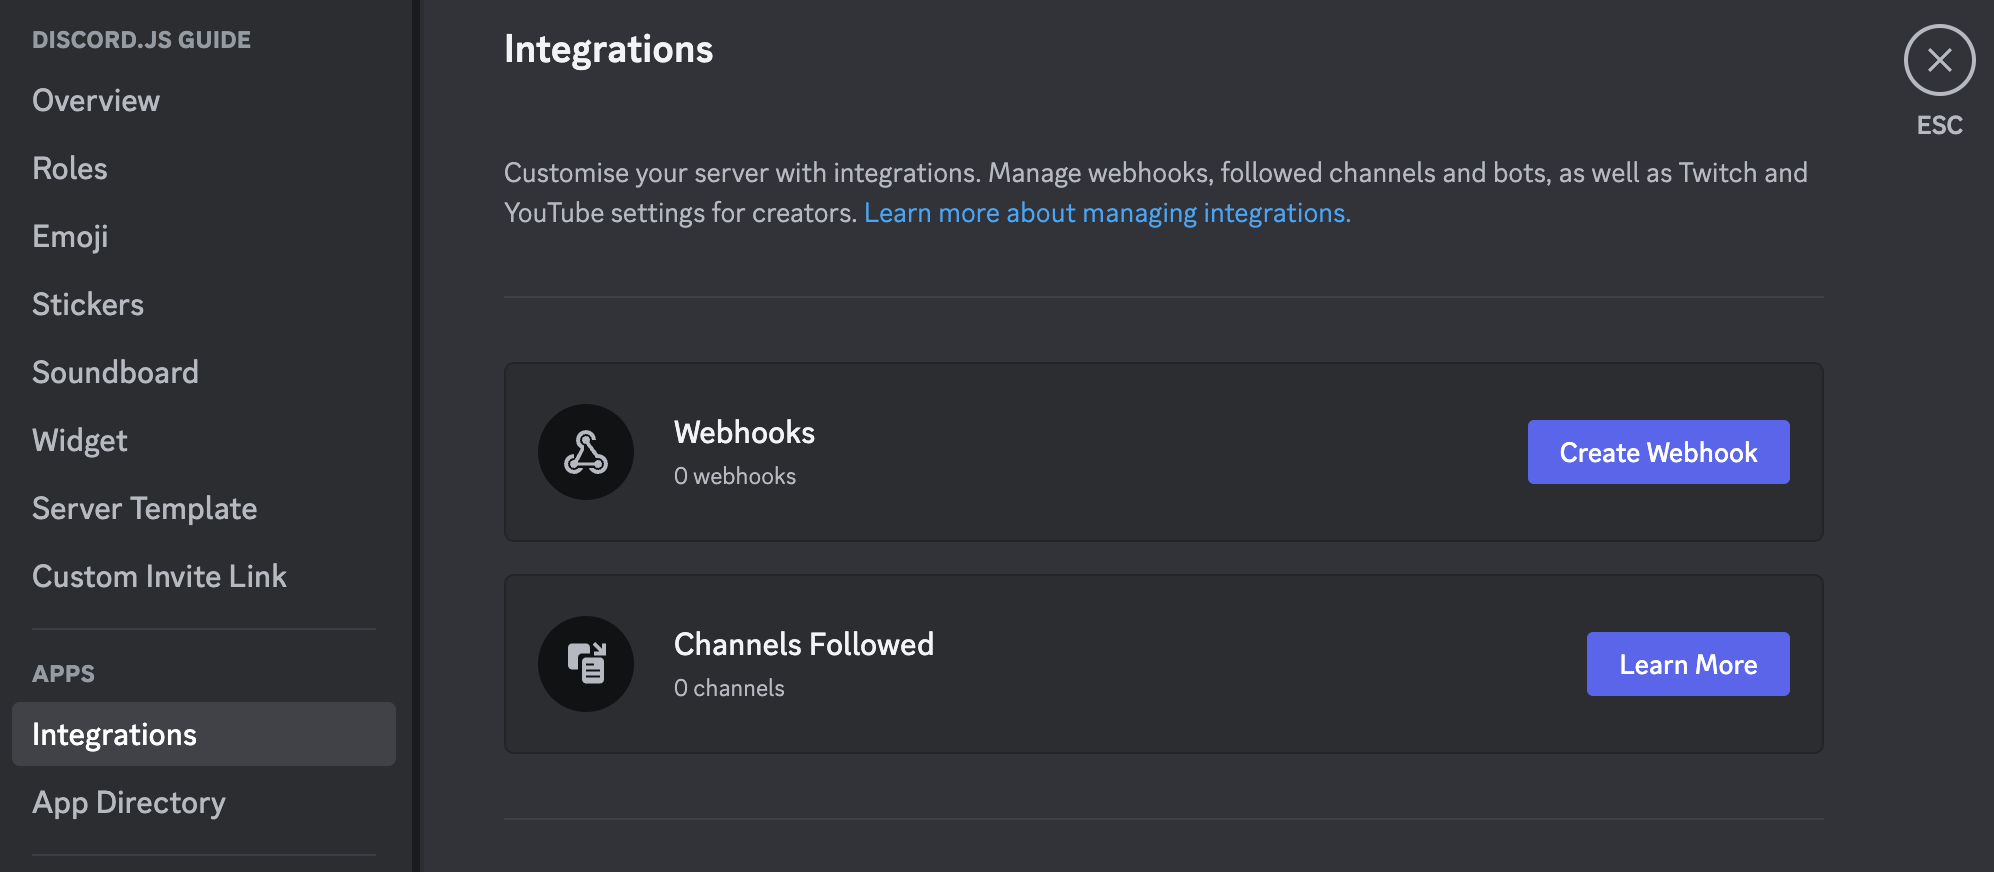
If you already have created a webhook, the webhooks tab will look like this; you will need to click the View Webhooks button.

To create a new webhook, navigate to the desired channel and click the Create Webhook or New Webhook button. This will open a new window where you can customize the channel, name, and avatar of the webhook. Once you have made your desired changes, copy the provided link, which consists of both the webhook's unique ID and token.
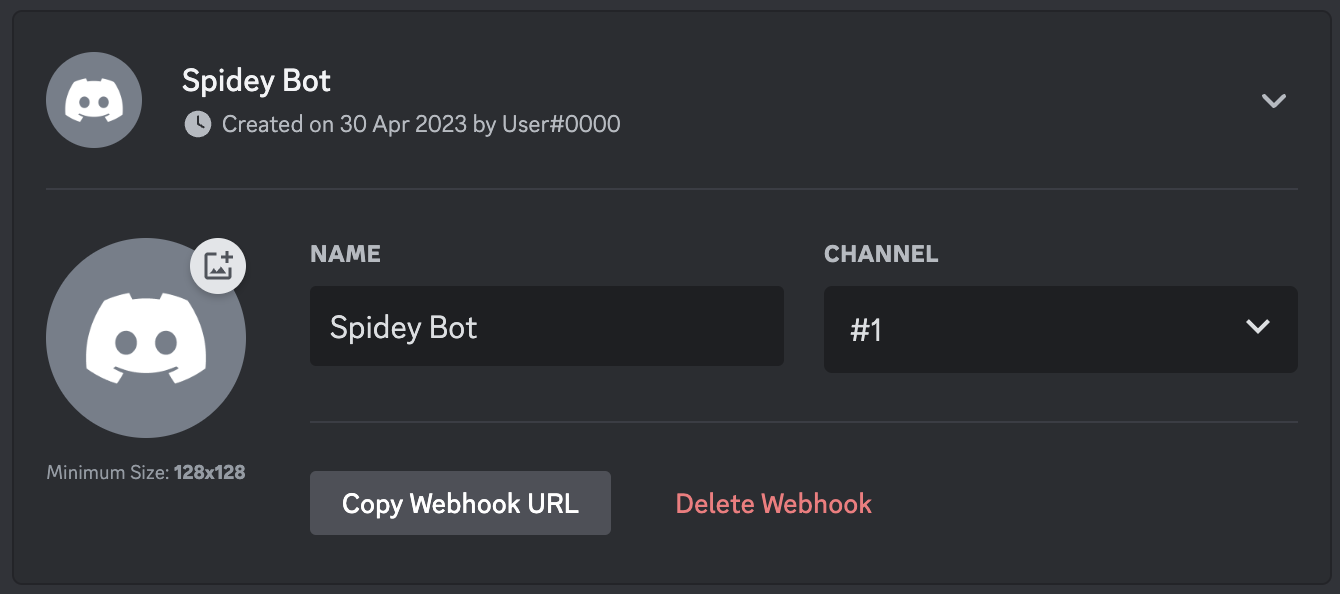
Paste the URL2 in the config.json file in the repository.
{
    "url": [{
        "urlNum": "5", // number of webhooks you want to use.
        "url1": "", // webhook url here
        "url2": "",
        "url3": "",
        "url4": "", // This can be left blank if you don't want to use more than 3 webhooks.
        "url5": ""
    }],
    "profile": [{
        "username": "", // can be left blank for default name.
        "avatarURL": "" // can be left blank for default pfp. use imgur to upload images
    }]
}
The urlNum is the number of the webhook in the config.json file which should looks like this, The number should be the same as the number of webhooks you want to use. If the urlNum is less than the number of webhooks you want to use, the code will only use the number of webhooks you set in the urlNum.
{
    "url": [{
        "urlNum": 2, // number of webhooks you want to use. MUST BE A NUMBER.
        "url1": "https://discord.com/api/webhooks/123/xyz",
        "url2": "https://discord.com/api/webhooks/234/xyz",
        "url3": "" // this can be left blank if you don't want to use more than 2 webhooks.
    }]
}
If added more that 5 webhooks, you need to add the following code to the checkWebhook() function in the check.js file3:
    const url5 = config.url[0].url5;
const url6 = config.url[0].url6; // if added more than 6 webhooks, add the following line. vice versa.{
"url": [{
"urlNum": 6, // number of webhooks you want to use. MUST BE A NUMBER.
// ...
"url6": "https://discord.com/api/webhooks/678/xyz"
}]
}
If you added more webhooks to run the code with them, add the following lines after the each webhookClient(don't forget to add a comma after each line):
    {
        content: 'message here',
        username: 'username here', // can be left blank for default name.
        avatarURL: 'avatarURL Here' // can be left blank for default pfp. use imgur to upload images
    }
You can also set the username and avatarURL in the config.json file. If you want to set the username and avatarURL in the config.json file, you can remove the username and avatarURL from the spammer() function in the message.js file. The code should look like this:
    {
        content: 'eeee',
        username: config.profile[0].username,
        avatarURL: config.profile[0].avatarURL
    }
You can also change the amount of messages sent in the for loop inside spammer() function in the message.js file. The code should look like this:
    for (let i = 0; i < 100; i++) {
        // code here
    }
For this instance, the code will send 100 messages. You can change the number to whatever you want. The number is the amount of messages sent.
After each run, the code will log the status of each webhook in the log.txt file. The log file will be created (in a form of json) in the log folder located in the root directory. The log includes the following information:
- The webhook's URLs
- The webhook's message
- Time and date of the run
If you get any errors, make sure you have installed the dependencies correctly. The errors are mainly caused by the syntax of the code. Make sure you have added the correct syntax. Or if you are using a code editor, make sure you have installed the discord.js extension. If everything is correct, and you are still getting errors, please check the spammer() function and it's associated variables. Make sure you have added the correct variables.
While running, you might see the ExperimentalWarning. This is because the code uses the async and await functions. This is not a problem. You can ignore this warning. This warning will not affect the code in any way.
1: You must install them in the same directory as the index.js file. If you are using a code editor, make sure you have installed the discord.js extension. If you are using the terminal, make sure you have installed the discord.js package. You can find the link to the discord.js documentation here.
2: The URL should look like this: https://discord.com/api/webhooks/123/xyz
3: These files are located in the events folder in the root directory.
4: The owner can check who creates the webhooks in the logs. Please note that the owner can remove the webhooks, if you abuse this program.