IMP UPDATE — We have dropped support for the normal CSS version (for now). (It still works, but there will be no further updates till the fullscreen mode is stabilized)
The fullscreen version has a new look (in beta), and support for different screen sizes has been added. For any visual goof-ups, please open a bug report, including the device being used and whether it is encountered in portrait or landscape mode.
Thanks to the Man, the Legend BobHasNoSoul for his work on the jellyfinfeatured and SethBacon and TedHinklater for their take on the Jellyfin-Featured-Content-Bar.
Here I present my version of the same with some code improvements, loading optimizations, and Security Enhancements. Works best with the Zombie theme (Shameless Plug @import url(https://cdn.jsdelivr.net/gh/MakD/zombie-release@latest/zombie_revived.css);, visit the repo for more color schemes), but it fits with every other theme the creators have put their hard work in. You should edit the color accents in the CSS to match yours.
For Release v1.0, existing users need to roll back to the stock home-html.xxxxxx.chunk.js, index.html & main.jellyfin.bundle.js. In order to do so, you can restore the files you have taken backup as instructed before, or just remove the edits made earlier.
Before Installing, please take a backup of your index.html, main.jellyfin.bundle.js and home-html.xxxxxx.chunk.js files
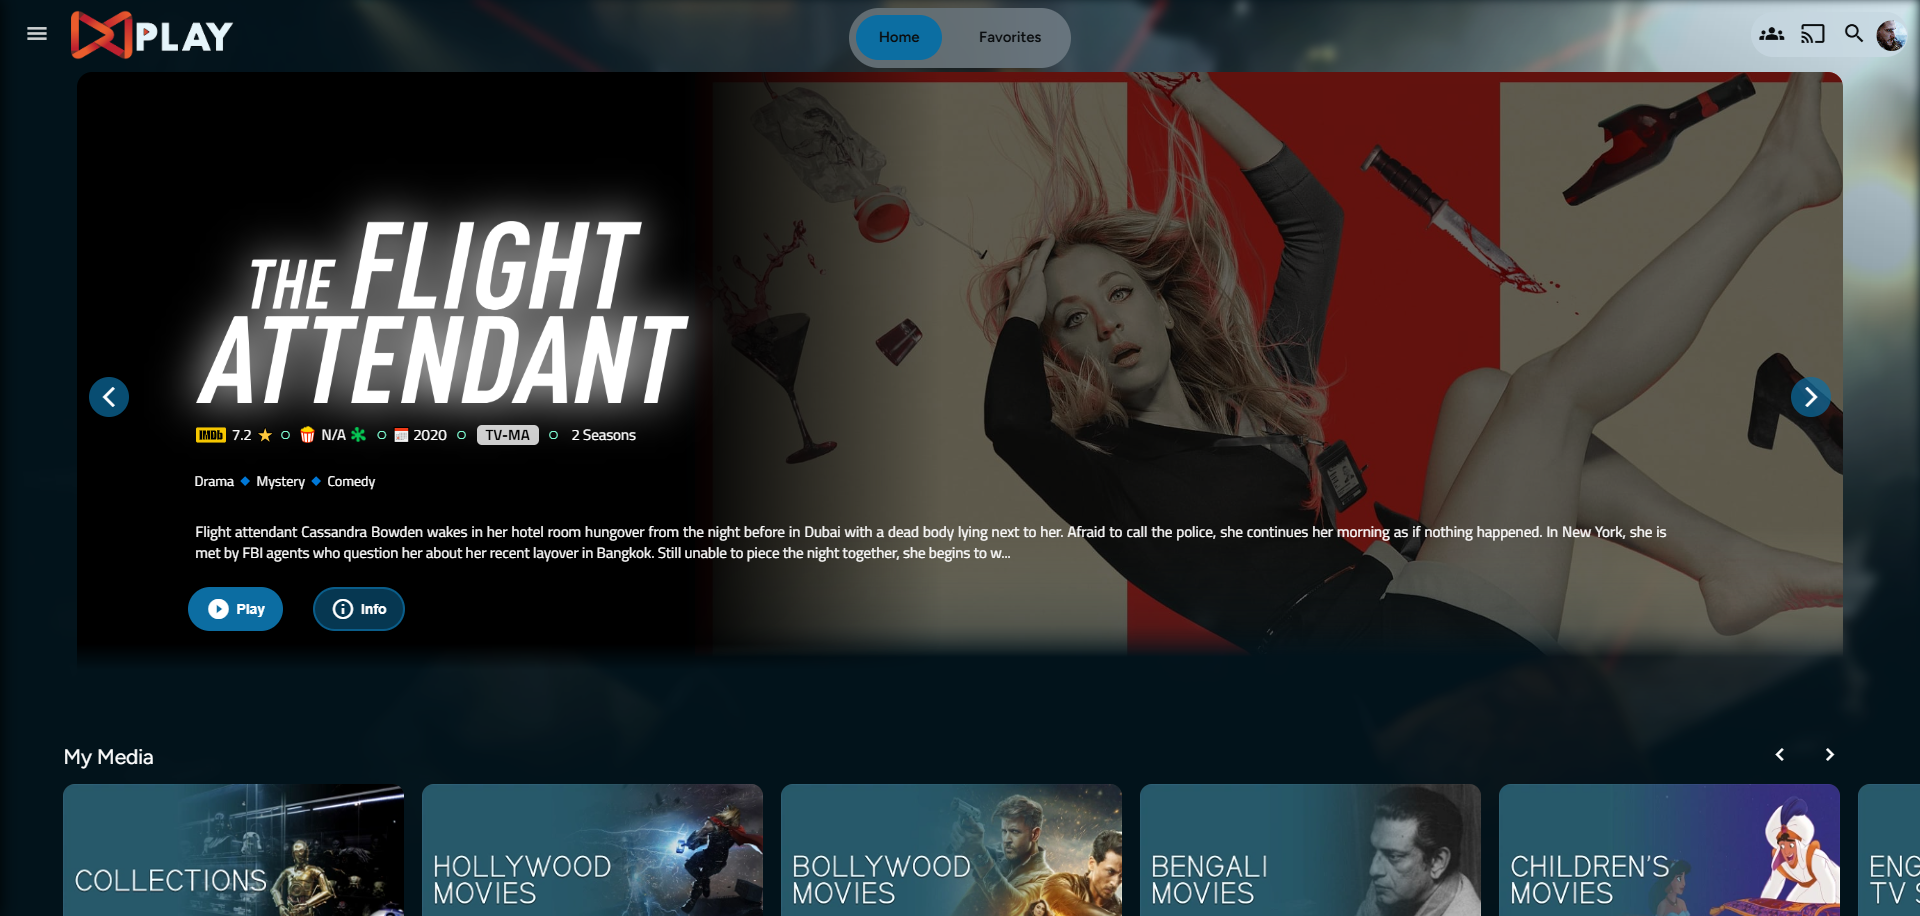
Desktop Layout - Normal
Desktop Layout - Fullscreen

- Download the slideshowpure-fullsreen.css, rename it to
slideshowpure,css, and replace the default CSS with the full-screen one.
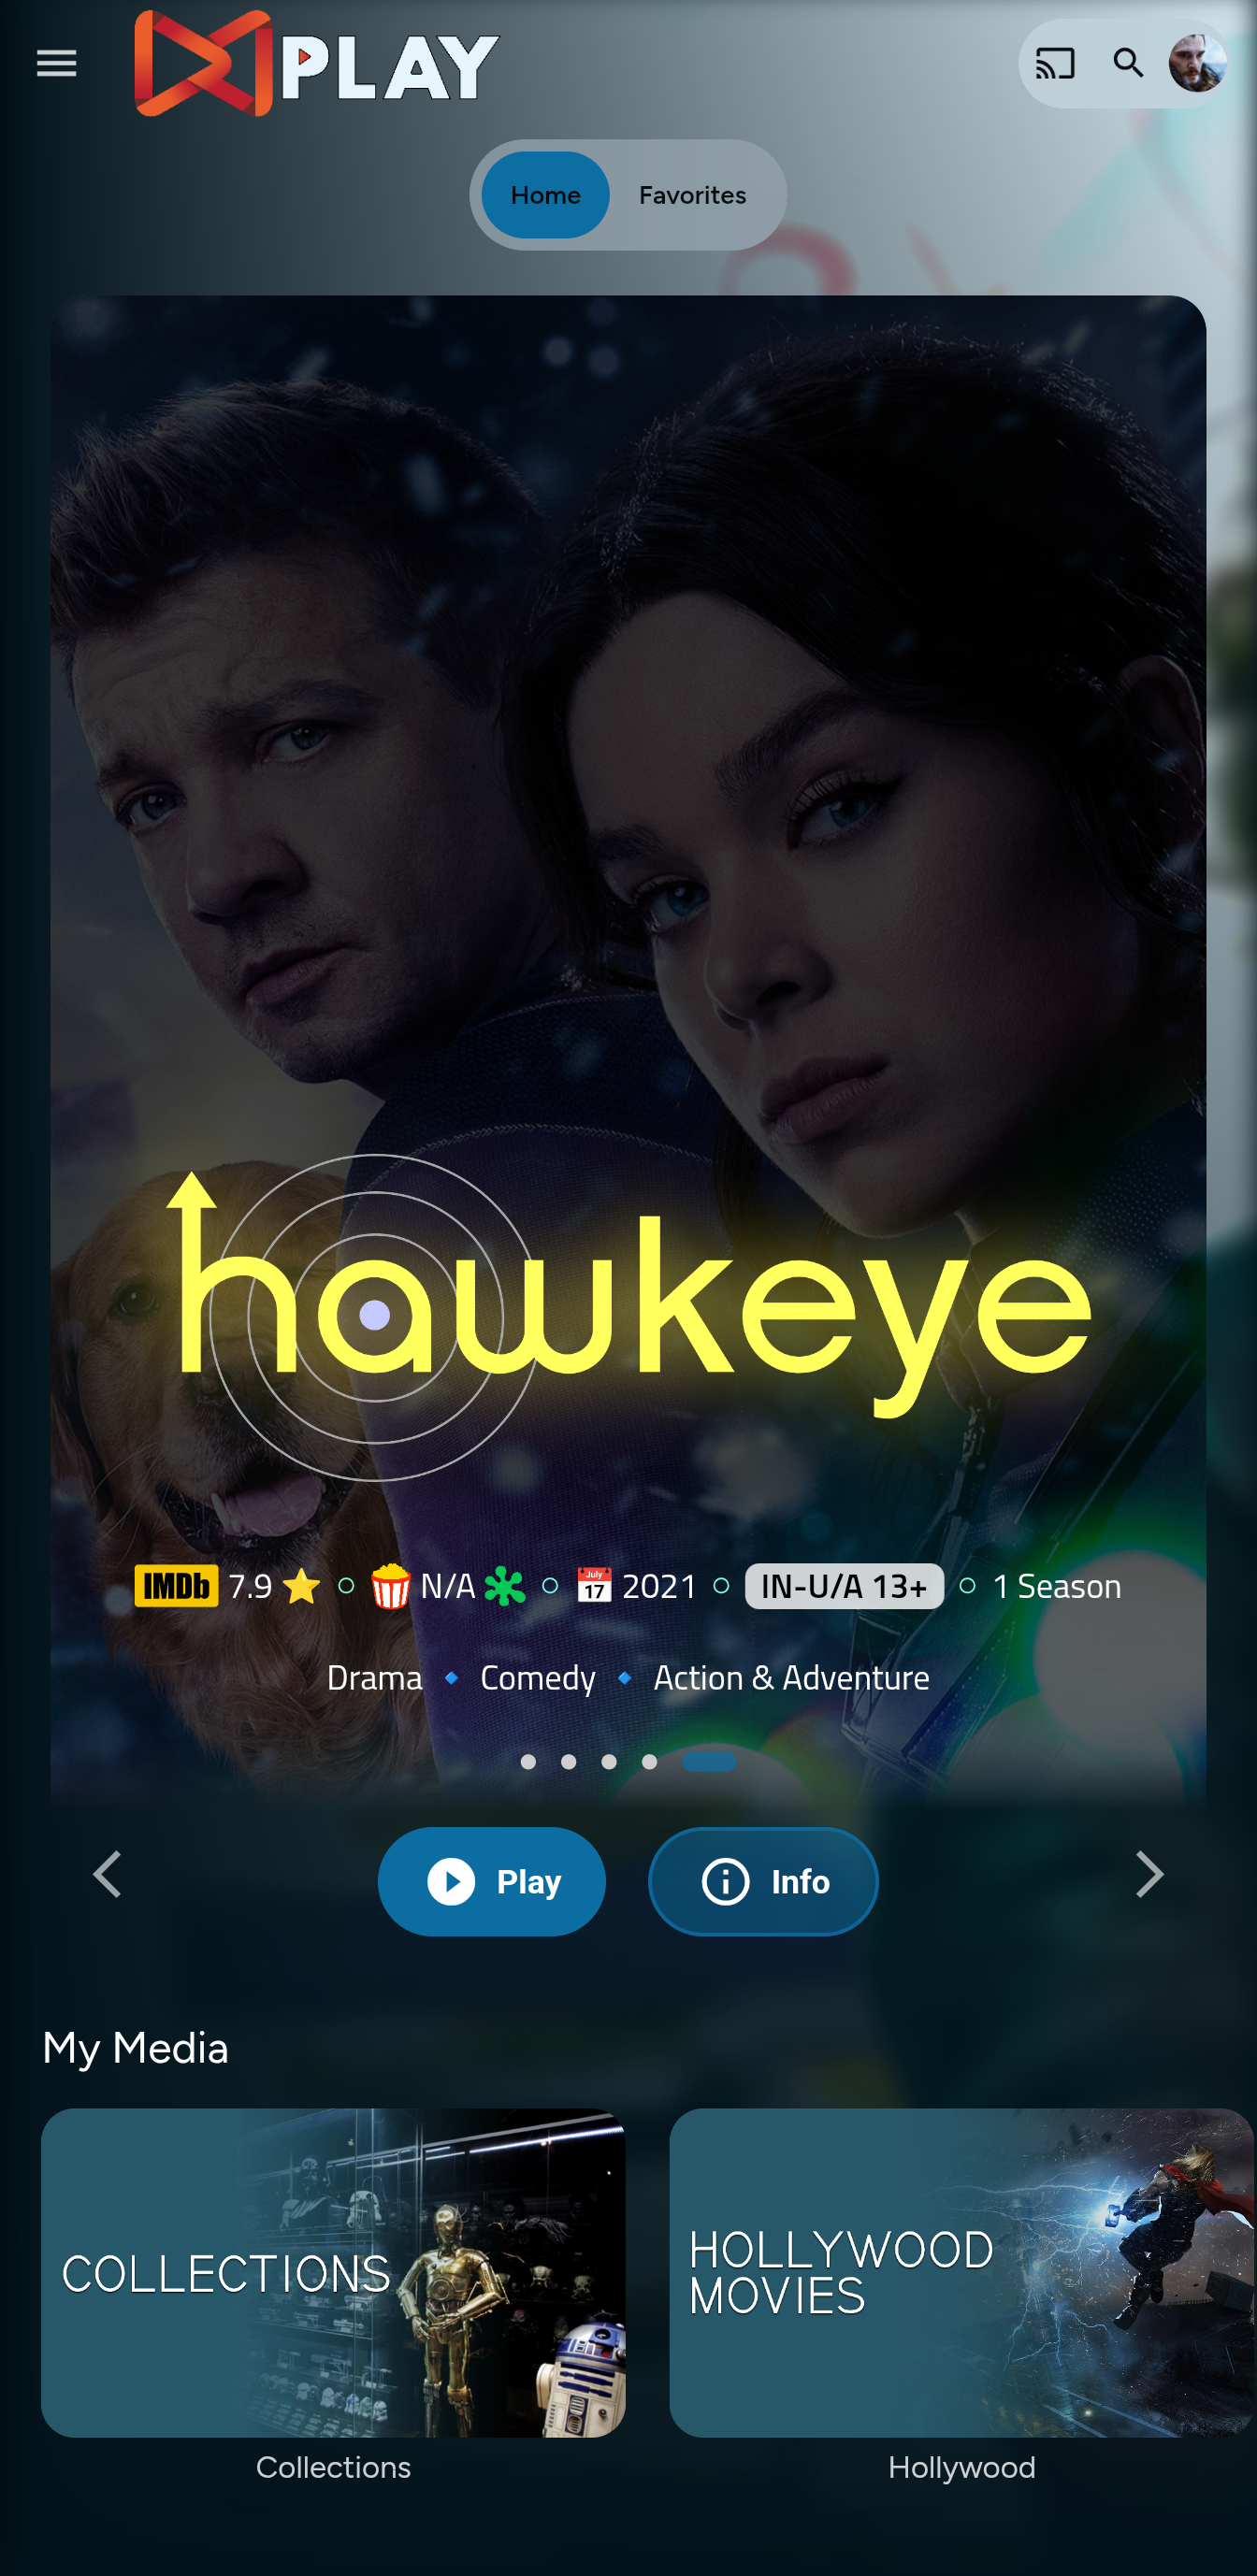
Mobile Layout - Fullscreen
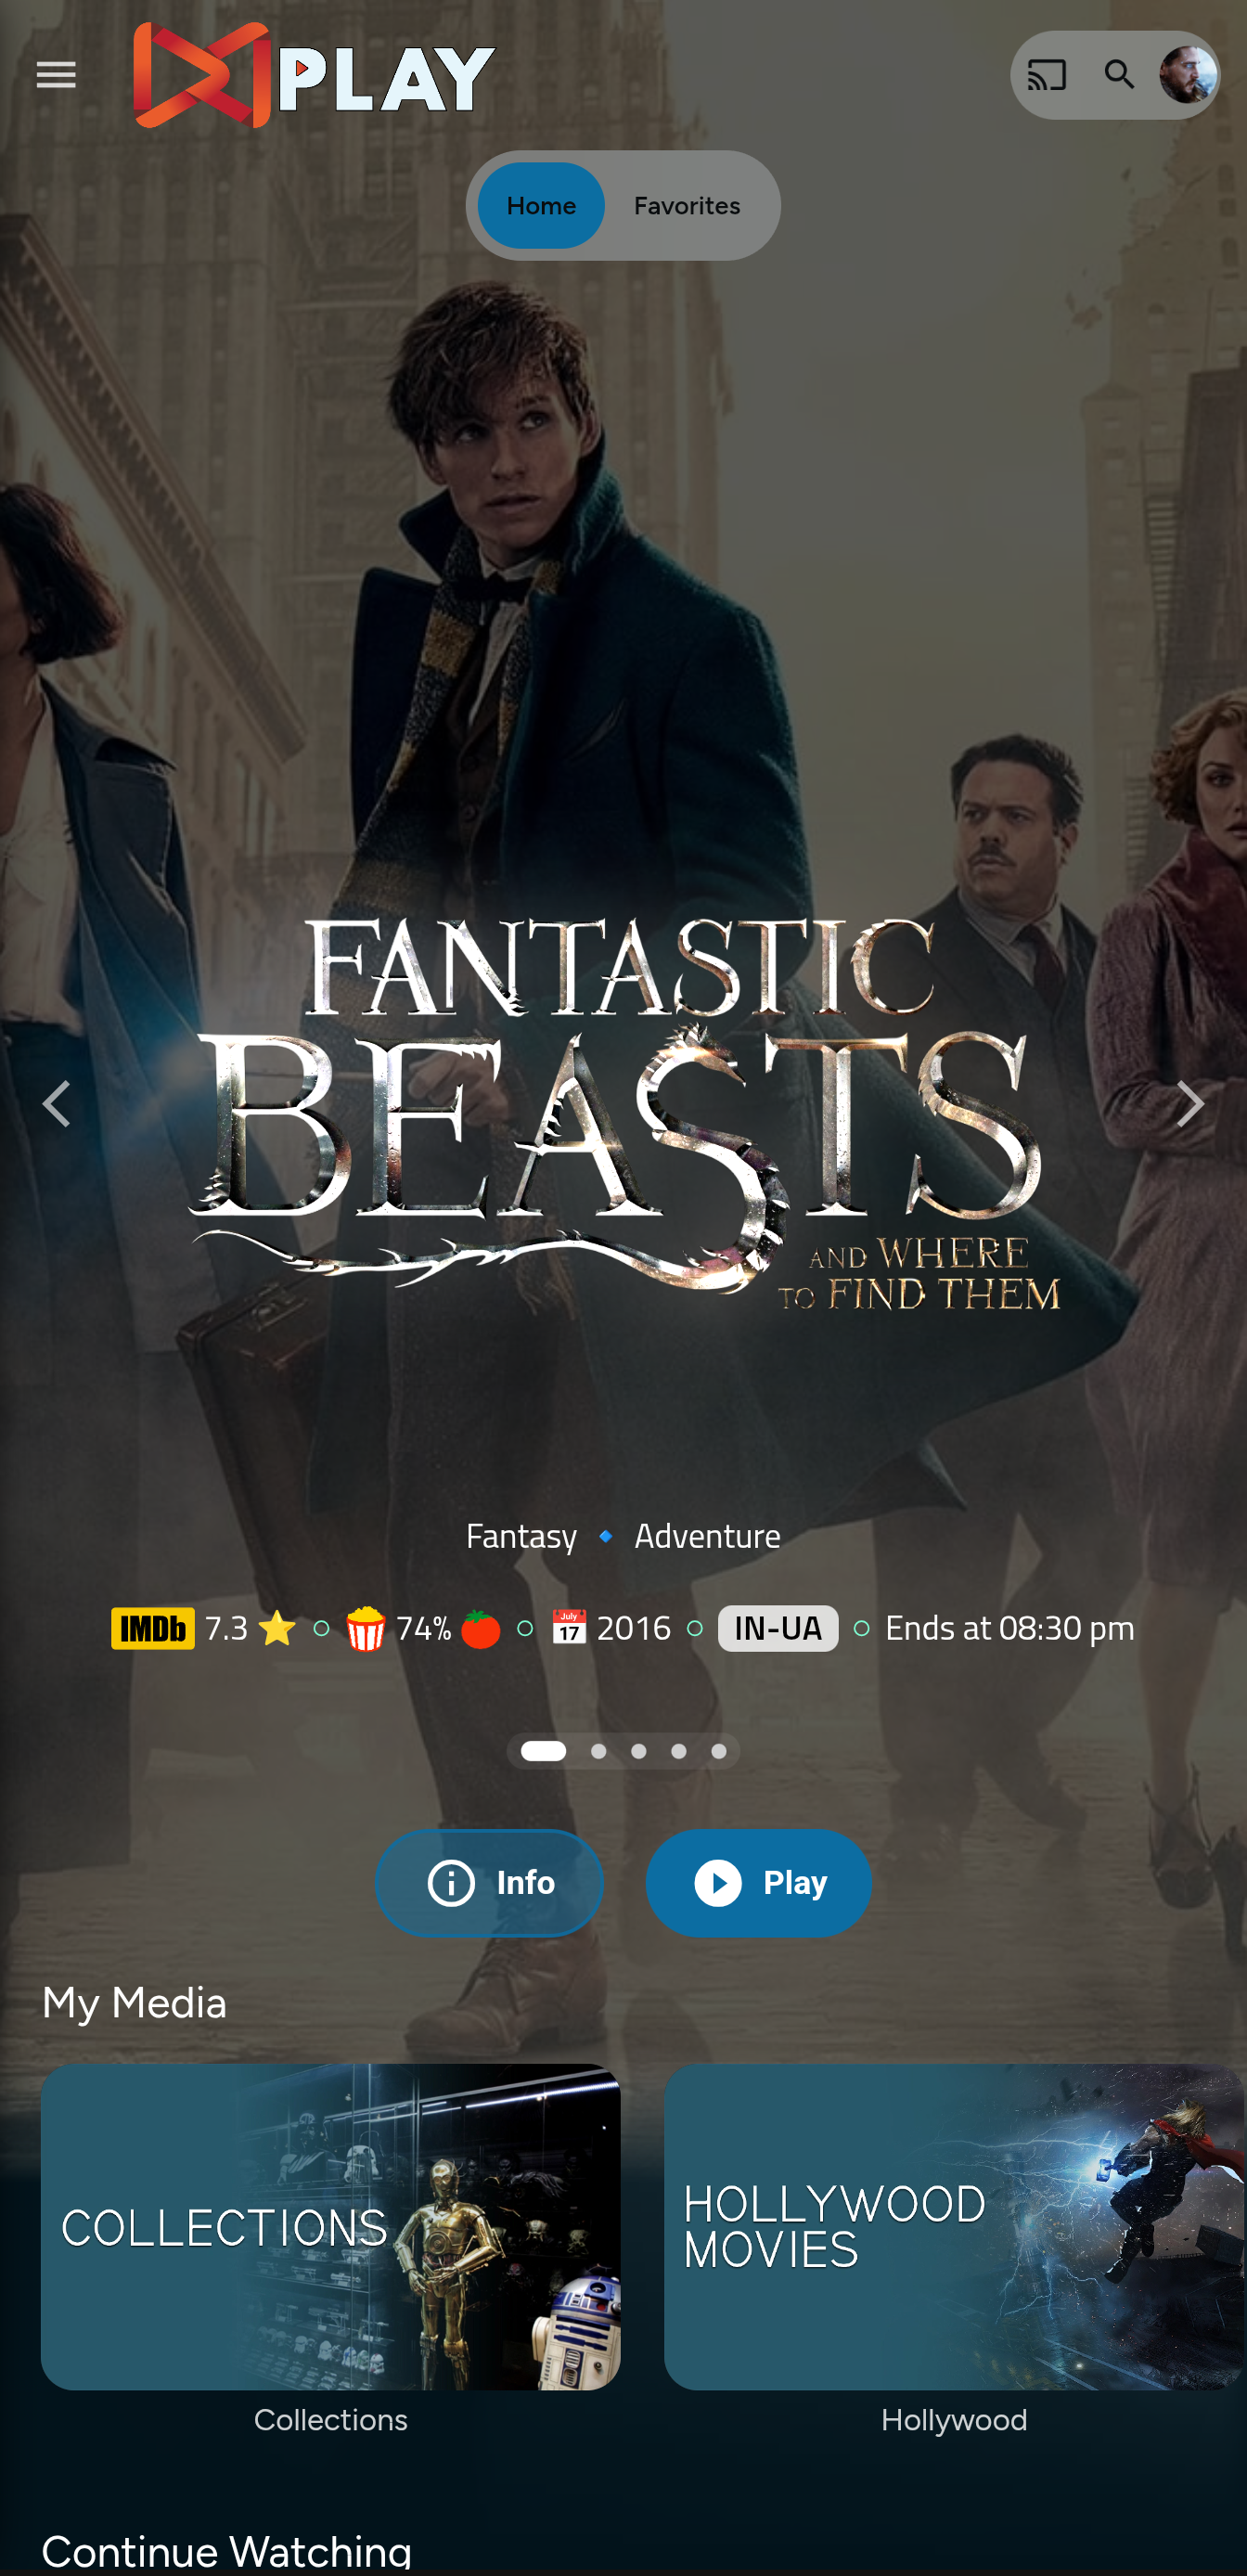
Mobile Layout - Normal
Steps
- Create a folder
avatarsin yourjellyfin-webfolder. (Usually in C:\Program Files\Jellyfin\Server) - Download the files
slideshowpure.jsandslideshowpure.css - Paste them inside the avatars folder created, and you are ready to venture down the rabbit hole.
index.html
- Navigate to your
jellyfin-webfolder and search for the file index.html. (you can use any code editor, just remember to open with administrator privileges. - Search for
</head> - Just before the
</head>, plug the below code
    <link rel="preload" href="/web/avatars/slideshowpure.css" as="style" />
    <link rel="stylesheet" href="/web/avatars/slideshowpure.css" />
    <script defer src="/web/avatars/slideshowpure.js"></script>
And that is it. Hard refresh your web page (CTRL+Shift+R) twice, and Profit!
No worries this got you covered.
- Create a
list.txtfile inside youravatarsfolder. - In line 1 give your list a name.
- Starting line 2, paste the item IDs you want to be showcased, one ID per line. For Example :
Awesome Playlist Name
ItemID1
ItemID2
ItemID3
ItemID4
ItemID5
The next time it loads, it will display these items.
Roll Back
Restore the index.html, home-html.xxxxxx.chunk.js, and main.jellyfin.bundle.js and you are good to go!!!