Abp RadzenUI is a UI theme built on the Abp framework and developed using the Radzen Blazor component.
![]()


English | 简体中文
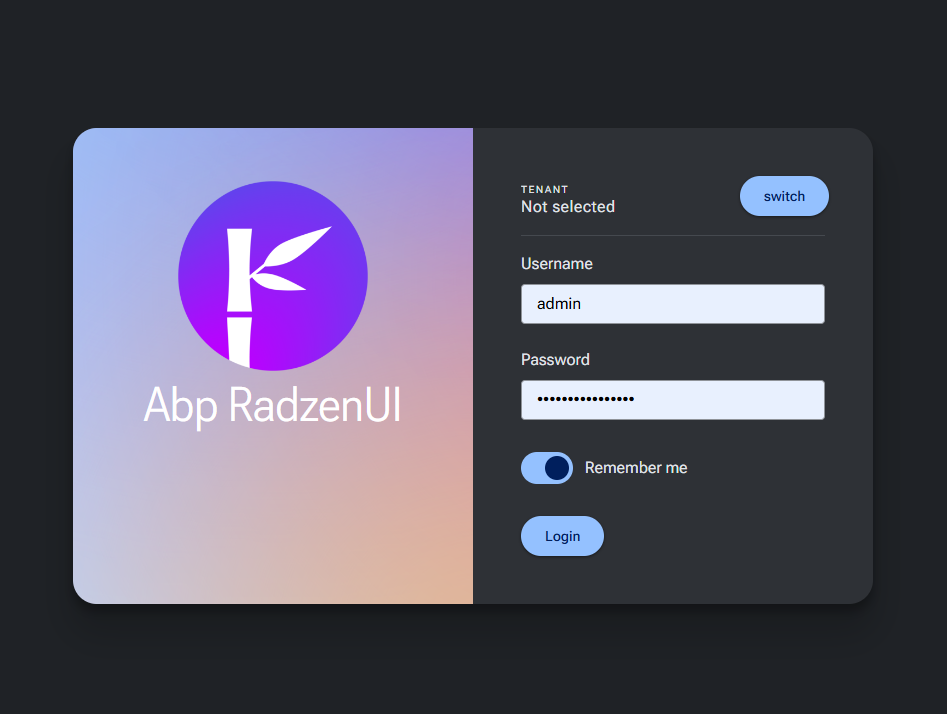
UserName: test
Password: 1q2w#E*

abp new CRM -u blazor-server -dbms PostgreSQL -m none --theme leptonx-lite -csfdotnet add package AbpRadzen.Blazor.Server.UIThis is mainly the code in the CRMBlazorModule class and delete files in the Pages directory
Add the ConfigureAbpRadzenUI method on your ConfigService method
private void ConfigureAbpRadzenUI()
{
    // Configure AbpRadzenUI
    Configure<AbpRadzenUIOptions>(options =>
    {
        // this is very imporant to set current web application's pages to the AbpRadzenUI module
        options.RouterAdditionalAssemblies = [typeof(Home).Assembly];

        // other settings
        //options.TitleBar = new TitleBarSettings
        //{
        //    ShowLanguageMenu = false,
        //    Title = "CRM"
        //};
        //options.LoginPage = new LoginPageSettings
        //{
        //    LogoPath = "xxx/xx.png"
        //};
        //options.Theme = new ThemeSettings
        //{
        //    Default = "material",
        //    EnablePremiumTheme = true,
        //};

        // configure external login provider icon
        options.ExternalLogin.Providers.Add(new ExternalLoginProvider("AzureOpenId", "images/microsoft-logo.svg"));
    });

    // Configure AbpMultiTenancyOptions, this will affect login page that whether need to switch tenants
    Configure<AbpMultiTenancyOptions>(options =>
    {
        options.IsEnabled = MultiTenancyConsts.IsEnabled;
    });

    // Configure AbpLocalizationOptions
    Configure<AbpLocalizationOptions>(options =>
    {
        // set AbpRadzenUIResource as BaseTypes for your application's localization resources
        var crmResource = options.Resources.Get<CRMResource>();
        crmResource.AddBaseTypes(typeof(AbpRadzenUIResource));

        // if you don't want to use the default language list, you can clear it and add your own languages
        options.Languages.Clear();
        options.Languages.Add(new LanguageInfo("en", "en", "English"));
        options.Languages.Add(new LanguageInfo("fr", "fr", "Français"));
        options.Languages.Add(new LanguageInfo("zh-Hans", "zh-Hans", "简体中文"));
    });

    // Configure your web application's navigation menu
    Configure<AbpNavigationOptions>(options =>
    {
        options.MenuContributors.Add(new CRMMenuContributor());
    });
}
then add the following code on your OnApplicationInitialization method
app.UseRadzenUI();yuo can refer to the sample code CRMBlazorWebModule
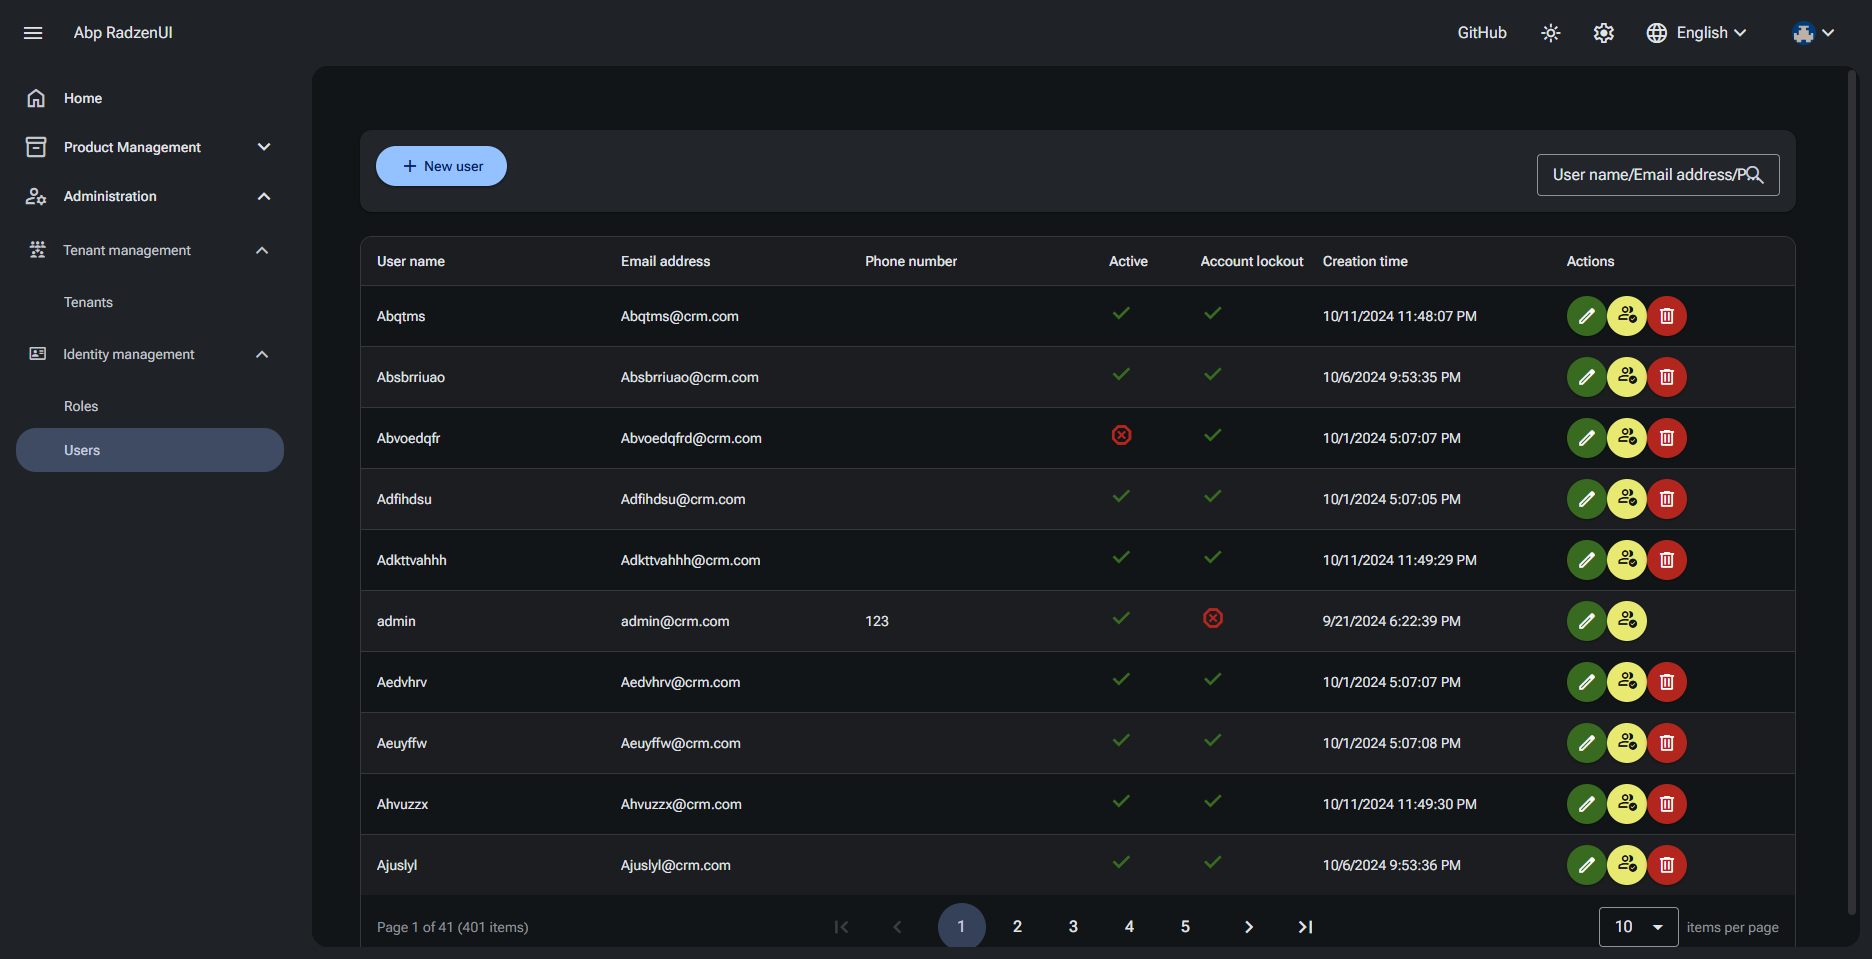
When you add razor page and need config menu , you should edit the CRMMenuContributor class
If you want to integrate third-party authentication such as Azure AD, it's quite straightforward. Simply update your configuration file as shown below, and add the necessary setup in your web project’s module. Once completed, third-party login functionality will be enabled and ready to use.You can refer to the sample project to see how it is implemented in practice.
"AzureAd": {
  "Instance": "https://login.microsoftonline.com/",
  "TenantId": "<your-tenant-id>",
  "ClientId": "<your-client-id>",
  "ClientSecret": "<your-client-secret>",
  "CallbackPath": "/signin-azuread-oidc"
}
private void ConfigureOidcAuthentication(
ServiceConfigurationContext context,
IConfiguration configuration
)
{
if (configuration.GetSection("AzureAd").Exists())
{
context
.Services.AddAuthentication()
.AddOpenIdConnect(
"AzureOpenId",
"Azure Active Directory",
options =>
{
options.Authority =
$"{configuration["AzureAd:Instance"]}{configuration["AzureAd:TenantId"]}/v2.0/";
options.ClientId = configuration["AzureAd:ClientId"];
options.ClientSecret = configuration["AzureAd:ClientSecret"];
options.ResponseType = OpenIdConnectResponseType.Code;
options.CallbackPath = configuration["AzureAd:CallbackPath"];
options.RequireHttpsMetadata = false;
options.SaveTokens = true;
options.GetClaimsFromUserInfoEndpoint = true;
options.SignInScheme = IdentityConstants.ExternalScheme;
options.Scope.Add("email");
}
);
}
}In the process of system development, we often need to configure certain system or business parameters, such as email service providers, SMS service providers, etc. Usually, corresponding pages are developed to configure these parameters. The Abp framework provides Settings, which makes it convenient to save and manage such settings. Based on this, this UI component allows you to easily create configuration pages for unified management. By following the steps below, your custom configuration component will be automatically added as a tab item on the settings page: